Your roof, a silent guardian protecting your home, deserves regular attention to ensure it remains in top condition. Conducting a DIY roof inspection is a proactive measure that can save you from costly repairs down the road. In this guide, we’ll explore the essential tools for a thorough inspection, what to look for, and how to use these tools effectively.

Tools of the Trade:
- Ladder:
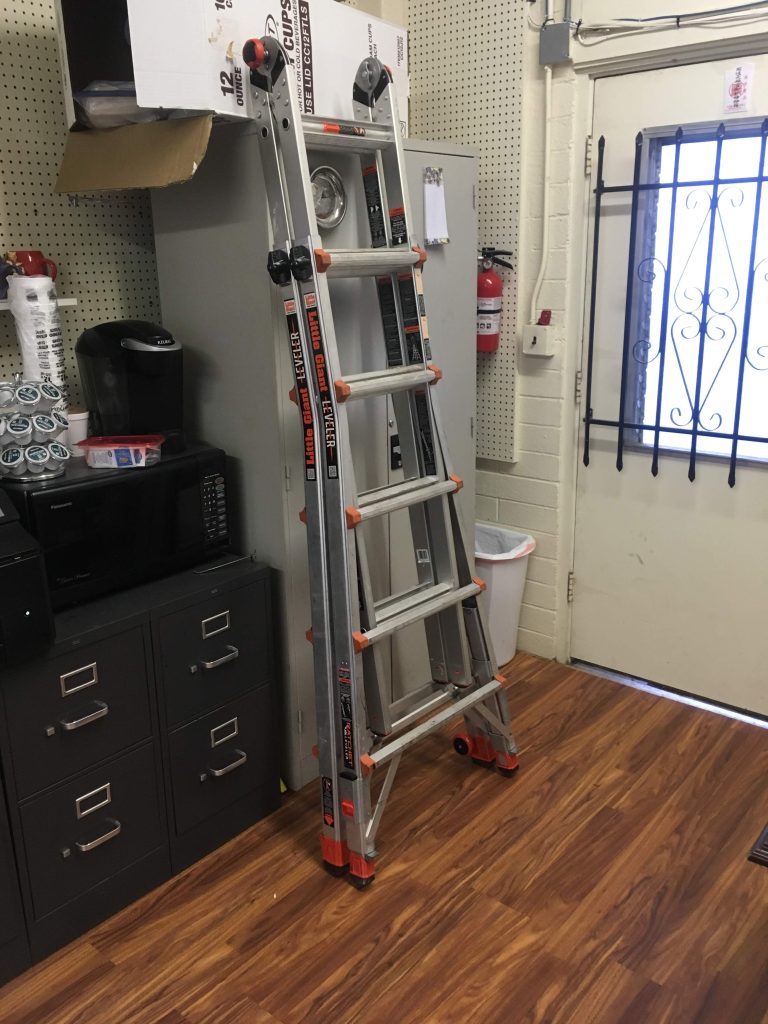
Purpose: The ladder is your gateway to a closer look at your roof’s surface. It helps you access different sections safely. There are many brands of ladders but we use Little Giant ladders.
Usage: Place the ladder on stable ground, ensuring it’s secure. Climb up carefully to get a visual of the overall roof condition. - Drone:
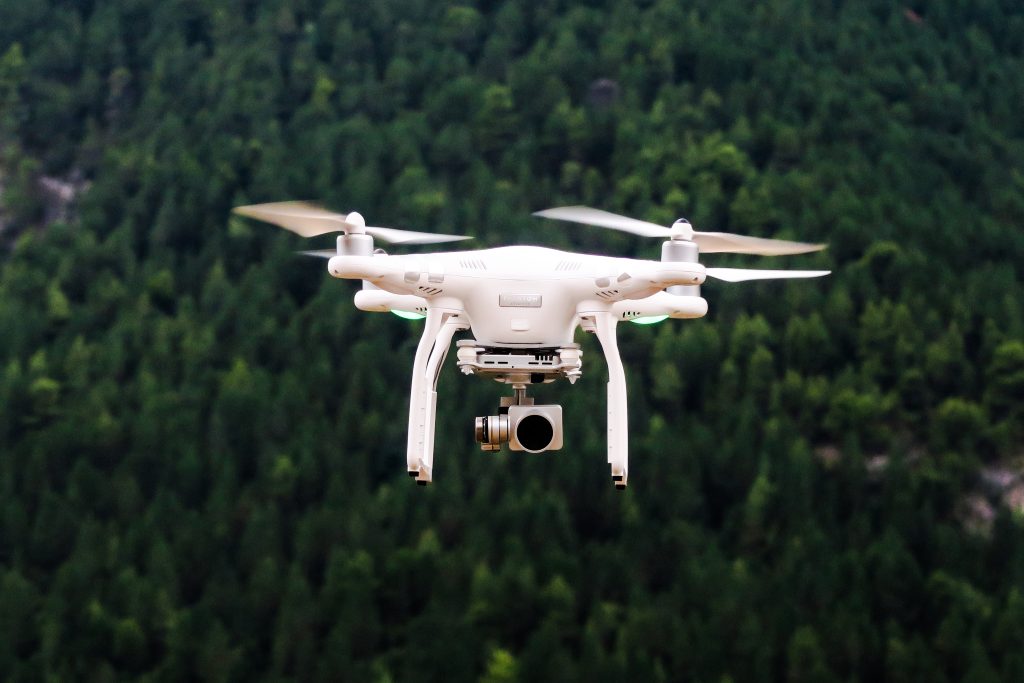
Purpose: A drone provides an aerial view, making it easier to inspect hard-to-reach areas without climbing onto the roof. We use DJI drones for our inspections.
Usage: Fly the drone above the roof, capturing footage of shingles, flashing, and other components. Review the footage later for a detailed analysis. - Camera Stick:
Purpose: A camera stick or telescopic pole aids in capturing close-up images of specific areas without the need to climb onto the roof. There are a lot of brands out there but we have had great success with our Selfie Stick
Usage: Extend the camera stick to reach areas such as flashing around chimneys or vents. Use the camera function to zoom in and inspect closely.

DIY Roof Inspection Checklist:
- Shingles:
What to Look For: Check for missing, cracked, or curled shingles.
How to Inspect: Use the ladder to get a clear view. For a more detailed look, capture images with the camera stick. - Flashing:
What to Look For: Inspect flashing around chimneys, vents, and skylights for signs of damage or rust.
How to Inspect: Utilize the camera stick to zoom in on specific areas, capturing images for closer examination. - Gutters:
What to Look For: Ensure gutters are securely attached and free of debris.
How to Inspect: Use the ladder to visually inspect gutters. For debris in hard-to-reach areas, the drone can provide an overhead view. - Sagging Roof Sections:
What to Look For: Examine the roofline for any noticeable sagging, indicating potential structural issues.
How to Inspect: Deploy the drone to capture an overhead view, helping identify any areas of concern. - Vegetation and Moss:
What to Look For: Check for moss and vegetation that can damage shingles.
How to Inspect: Utilize the drone or camera stick to capture images of areas that might be prone to moss growth. - Interior Inspection:
What to Look For: Inspect the attic for signs of leaks, water stains, or mold.
How to Inspect: Use the ladder to access the attic entrance. A flashlight and camera stick can help capture images of any issues. - Roof Ventilation:
What to Look For: Ensure vents are unobstructed for proper airflow.
How to Inspect: Deploy the drone to inspect vents located at challenging angles. - Check for Debris:
What to Look For: Remove leaves, branches, or debris accumulated on the roof.
How to Inspect: A telescopic pole with a soft brush attachment can aid in debris removal. - Cracked Caulking:
What to Look For: Inspect areas with caulking, such as around vents and chimneys, for cracks.
How to Inspect: Use the camera stick to capture detailed images of caulking conditions. - Evaluate Downspouts:
What to Look For: Ensure downspouts direct water away from the foundation.
How to Inspect: Use the ladder for visual inspection and a water hose to check downspout functionality.
Armed with the right tools and a systematic approach, a DIY roof inspection can become an extremely manageable task. Regular inspections empower you to identify issues early, preventing extensive damage and ensuring the longevity of your roof. Remember to prioritize safety, especially when using ladders or climbing onto the roof. Happy inspecting, and may your roof continue to stand strong!

